
|
Main /
CapeCode Swarmlet HostQuick StartCapeCode is a configuration of Ptolemy II specialized for creating swarmlets using accessors. To use CapeCode, you must install Ptolemy II (as of this writing, you need the current development version, not a release), After Ptolemy II is installed, then you can invoke Cape Code on the command line as follows: $PTII/bin/capecode You will see the following welcome window: 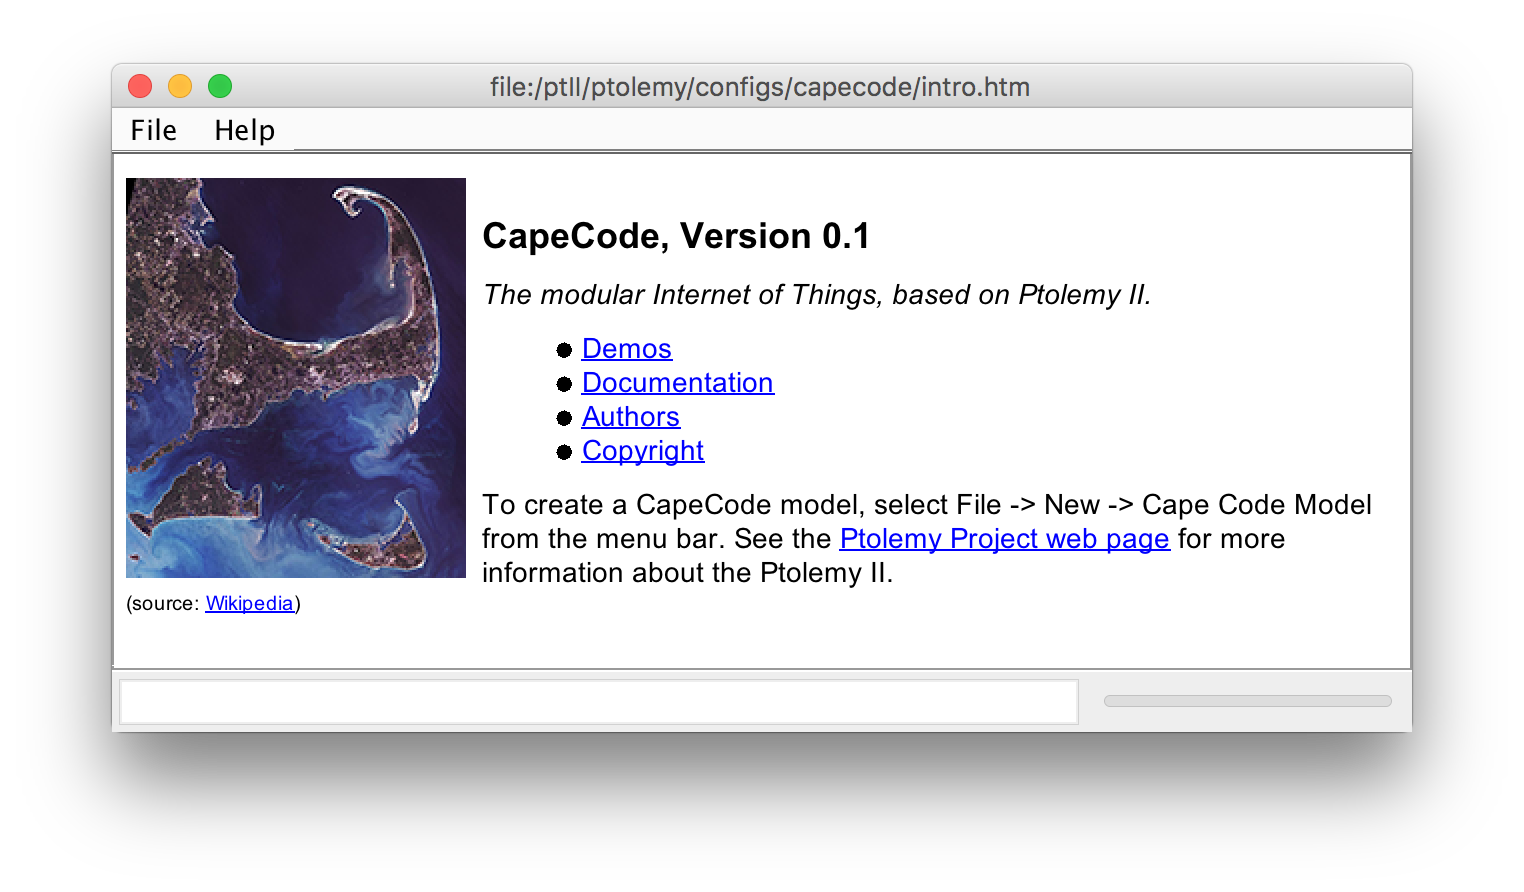 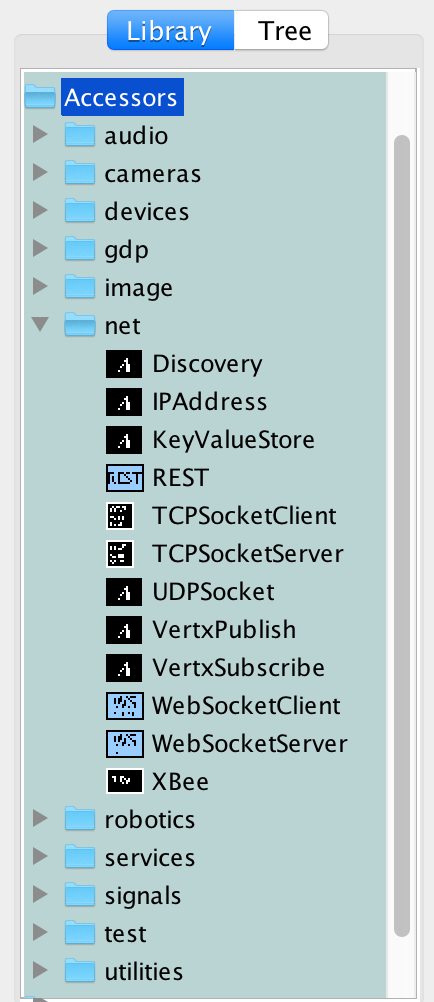 In this configuration of Ptolemy II, every accessor that is checked into the TerraSwarm accessor repository is available in a library to be dragged in to a model and connected with other accessors or Ptolemy II actors. The model editor displays the accessor library in the palette of actors available to be dragged into a model as shown to the left. The welcome window shown above has a link to a suite of demos that you can execute to get a feel for what accessors and swarmlets can do. Documentation that is available includes:
The documentation provided by an accessor is also available in Vergil by right clicking on the accessor icon and selecting Documentation->Get Documentation. The first time you do this, you may have to build the documentation by following the prompts. To prototype your own accessors, drag a JavaScript actor from the Utilities library and open it (right click and select Open Actor). You can then enter you JavaScript code conforming with the Accessor Specification. For example, the following code creates a simple test accessor that doubles a numerical input: exports.setup = function() { input('in'); output('out'); } exports.fire = function() { send('out', get('in') * 2); } More examples can be found in the code documentation for the Ptolemy II JavaScript actor, which is also available by right clicking on the JavaScript actor and selecting Get Documentation. Components of Cape CodeCape Code supports the Accessor Specification (version 1). It is built from three components:
Model of Computation (MoC)The contract between an accessor and its environment is one of the key questions that this research raises. In the Ptolemy II/Nashorn host, we use the discrete-event director to govern the interactions between an accessor and its environment. This has a number of attractive consequences. One is that setTimeout and setInterval are precise. For example, if two accessors produce data with the same interval using setInterval, then any downstream accessor will see data from these two accessors simultaneously. Also, if two uses of setTimeout have different time values, the order of invocation is guaranteed. This is not usually true in JavaScript programming environments. In the DE model of computation, all interactions between actors is via time-stamped events. The contract is that each actor will see events in time-stamp order. If there are multiple events with the same time stamp, then an actor will see them simultaneously (in the same handler or fire invocation). By default, the DE director in Ptolemy II does not synchronize with real time. It runs as quickly as possible, so time stamps will typically advance faster than real time. If you double click on the director and select synchronizeToRealTime, then the execution will slow so that time stamps do not advance more rapidly than real time. It may also be useful to uncheck stopWhenQueueIsEmpty so that the execution does not stop prematurely. This is useful, for example, when setTimeout() is being used to trigger an action in the future. In the Cape Code configuration, synchronizeToRealTime is true by default, and stopWhenQueueIsEmpty is false by default. Note that under the DE Director, actors will not fire unless they either receive an input event or explicitly request a firing (e.g. using the JavaScript Zero Delay LoopsIn Cape Code, models with a loop where there is no delay in the loop will result in an exception being thrown: "Found a zero delay loop containing ..." In Cape Code, one workaround for this problem is to add a MicrostepDelay actor to the loop. However, other accessor hosts do no have a MicrostepDelay, so the workaround is to set the output port to be spontaneous.
Building SwarmletsIn the Cape Code configuration, the TerraSwarm accessor library automatically appears in the palette of actors available to be dragged into a model. You can also import accessors that are not in the library (e.g. accessors that you are developing) by selecting File-Import-Import Accessor from the menu. To use this menu command, your accessor must be in a directory that contains a file called [ "Camera.js", "Foscam.js" ] To import the Camera accessor, first choose the directory containing the index.json file, then choose the accessor to import, as shown below: 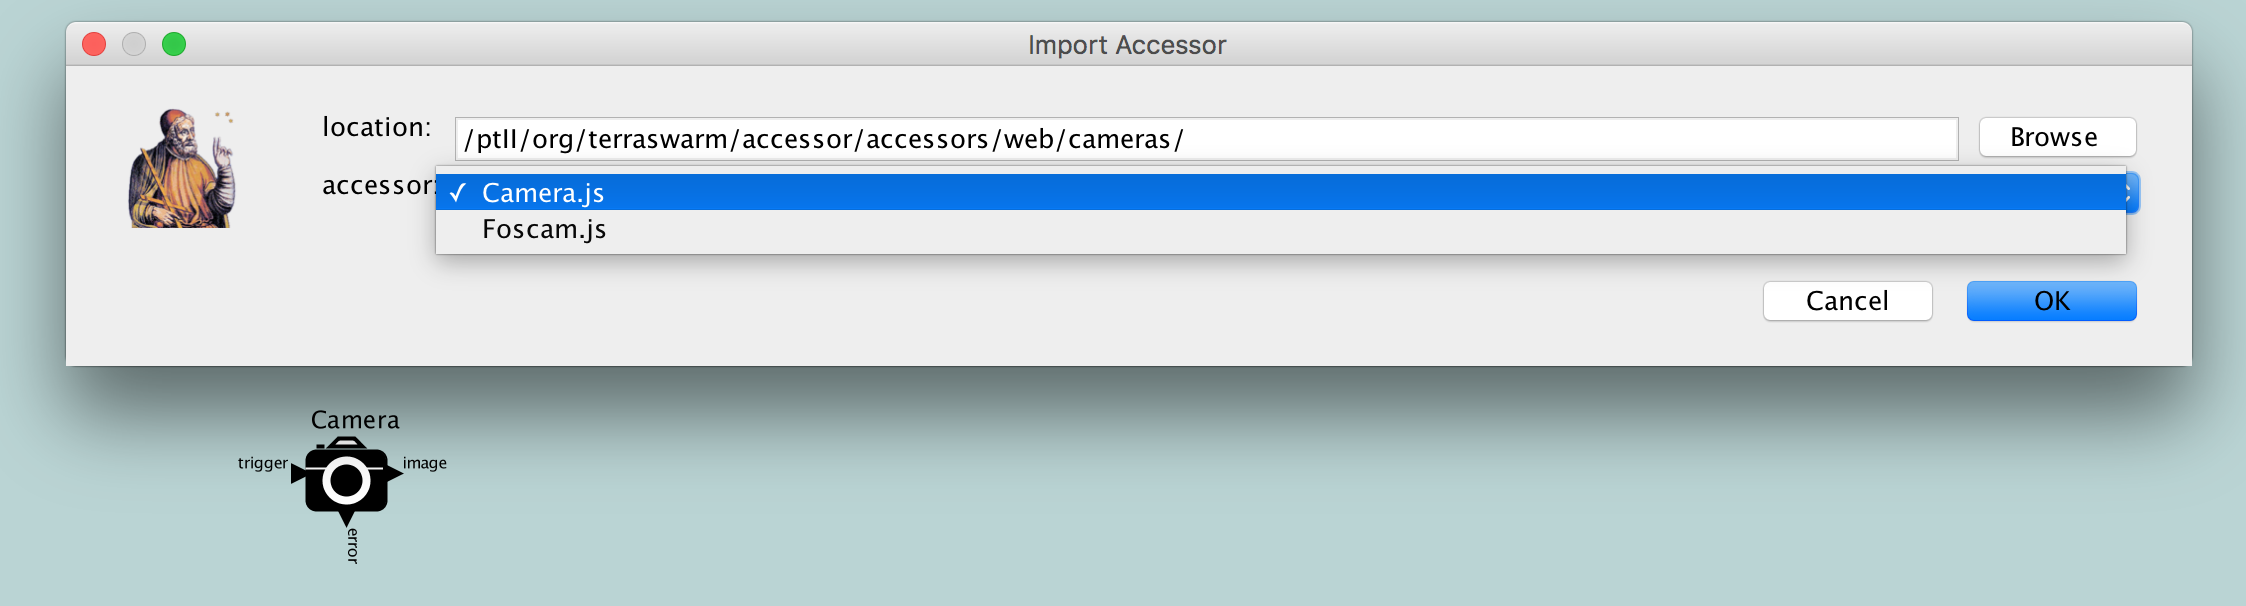 JavaScript actorsWhen building swarmlets, it is common to need to perform functions that are not already provided by an accessor or an actor in the Ptolemy II library. For such functions, you can easily create a custom actor by dragging in an instance of the JavaScript actor, and then building a custom accessor (define a function Accessors typically use modules to implement host-specific functionality. If your functionality is not host-specific, then rather than adding an Accessor, create a JavaScript actor. For example a Ramp would be implemented using a JavaScript actor because it is trivial JavaScript and it is not host-specific. A Display would be an accessor because the Display behaves differently on the different hosts. If you want to prototype an accessor and have your JavaScript code run in exactly the same environment that an accessor's code runs (which is a bit more restrictive than the code run by a JavaScript actor), then you can instantiate a plain JSAccessor from its class definition; in the Ptolemy menu bar:
DebuggingIf your swarmlet is not behaving as expected, it can be useful to right click on an actor or port and listen to it. This will open a window that displays messages that may give you an indication of what is going on. The Debug menu also provides an option to listen to the director. This will tell you about time-stamped events and about actor firings. Inputs and OutputsWhen you import an accessor into Ptolemy II, an accessor input becomes either an input port or a port parameter (aka PortParameter), depending on whether a default value is provided. A port parameter appears as both an input port (rendered graphically with a gray-filled triangle) and a parameter of the actor. The initial value of the parameter will be the one provided by the accessor as a default value. If at any time a new value is provided on the input port, then that value will henceforth be used by accessor instead of the default value. An accessor output becomes an output port in Ptolemy II. After the accessor is instantiated, to set the default value of an input port, see Input -> Setting the Default Value of an Input. Ptolemy II is strongly typed, so input and output ports must be typed. The host implementation automatically handles conversion from JavaScript types in the accessor to Ptolemy II types of the ports. The types of the ports will depend on the accessor's input and output data types. An input or output declaring type boolean or string will result in Ptolemy II ports with type boolean or string, respectively. The accessor type number becomes the Ptolemy type double. The accessor type JSON becomes the type string, and the parameter editing box acquires a yellow background to hint to you that you should enter data in JSON syntax, not in the syntax of the Ptolemy II expression language (which is based on MATLAB). See also Outputs/Sending To Outputs and JSON. The actor library includes two convenient actors, If an accessor does not specify a type for an input, then neither will the Ptolemy II port. The type of the port will be inferred from the types of the source actors that send data to the port. If an accessor does not specify a type for an output, however, the output type is declared to be general. Error HandlingAn accessor that has been imported into Ptolemy II is endowed with an additional error port named error. NOTE: This could create a conflict with an input or output named 'error' in the accessor. When an error occurs executing the accessor, if nothing is connected to the error port, or if the accessor is either initializing or wrapping up, then a Java exception will be thrown and the swarmlet will stop executing. If however there is something connected to the error port, then instead of throwing an exception, the error message string will be produced on the error output port. This enables the swarmlet to conveniently handle error without stopping execution. Even when an error stops the execution of a swarmlet, the wrapup function, if given, is nevertheless guaranteed to be invoked. JSONSee JSON. ModulesBy design, accessors do not include any Ptolemy-specific or Java-specific code. Instead, they "require" modules with well-defined interfaces, and if those modules are implemented in Ptolemy II, then the accessor is compatible with the Ptolemy II host. The module implementations themselves can contain Ptolemy-specific and/or Java-dependent code, but they should have an interface that can be implemented without Ptolemy II or Java. Modules are designed according to the Module Specification. Any module that is put into the directory Code GenerationCape Code can generate an accessor from a Ptolemy II model that contains only JSAccessor actors. The Cape Code Code Generators are found under Experimental Libraries -> CapeCodeGen, see AccessorCodeGenerator. To try out the Accessor Code Generator, run $PTII/bin/capecode $PTII/ptolemy/cg/kernel/generic/accessor/demo/TestComposite/TestComposite.xml Below is a screenshot of 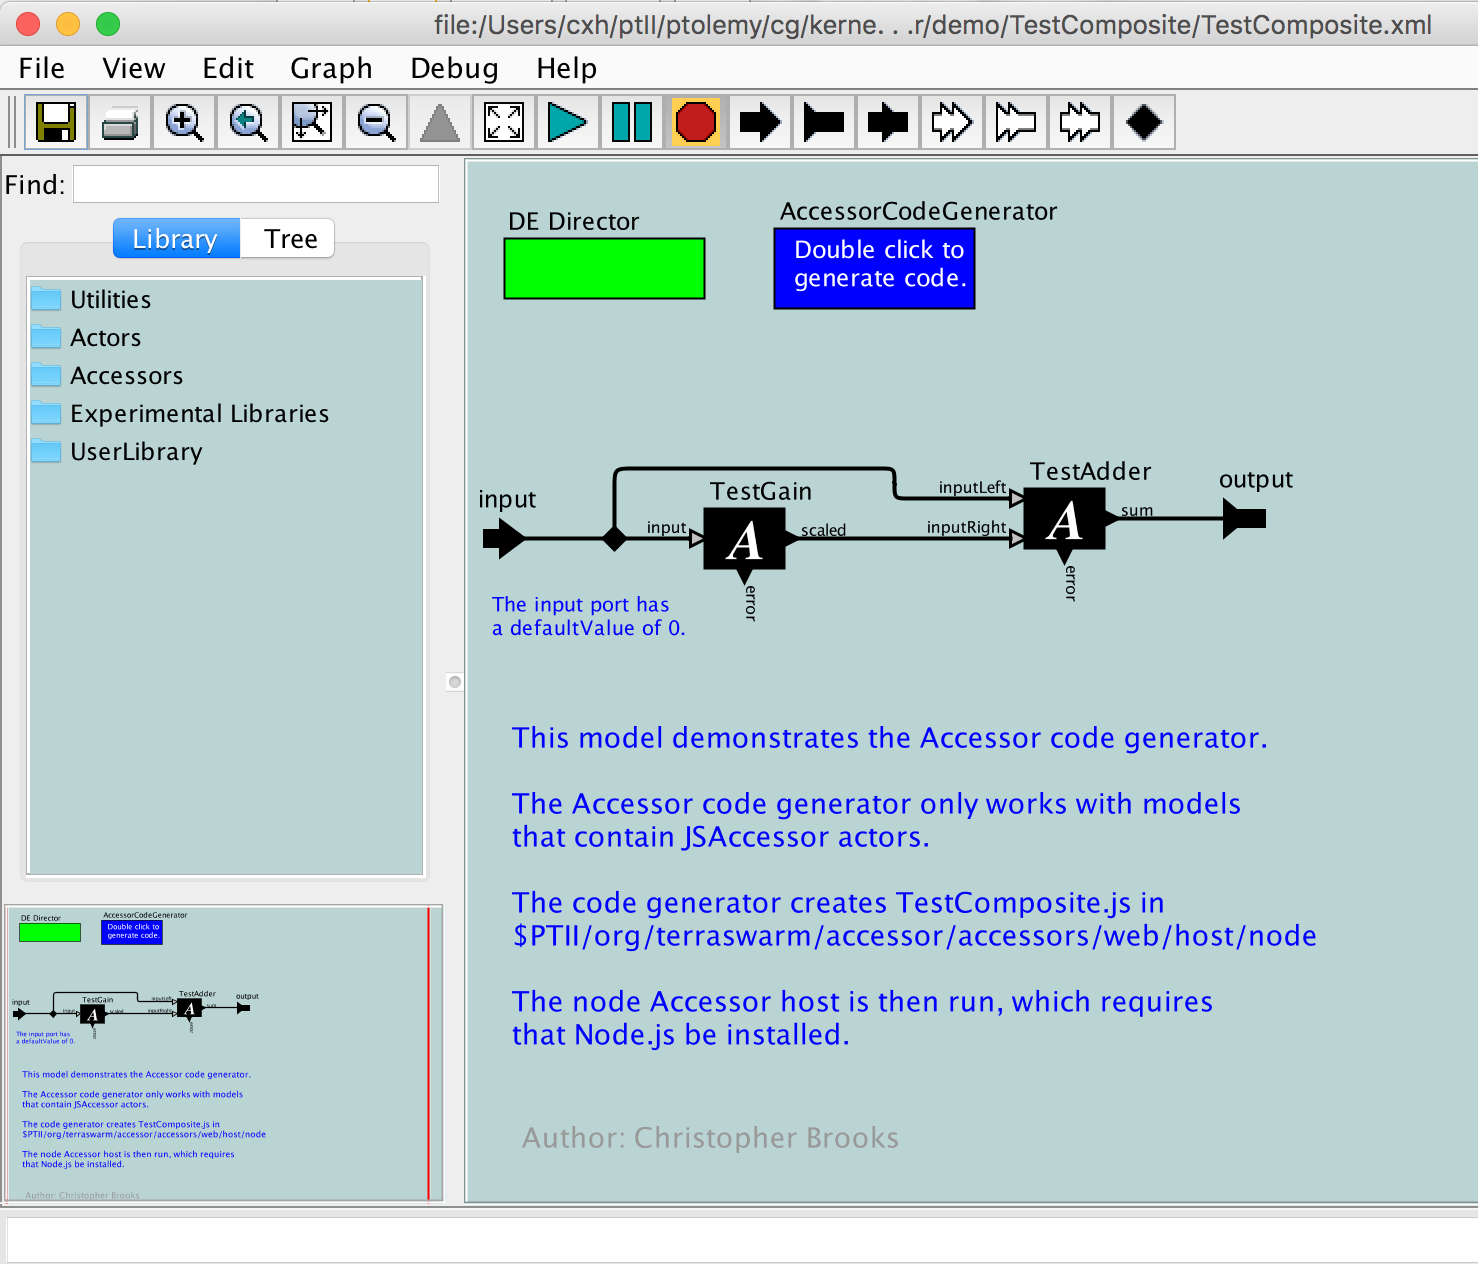 Click on the blue AccessorCodeGenerator icon and then click on the Generate button.
The output will be something like: // Starting ptolemy.cg.kernel.generic.accessor.AccessorCodeGenerator {.TestComposite.AccessorCodeGenerator} code generation. Writing TestComposite.js in file:/Users/cxh/ptII/org/terraswarm/accessor/accessors/web/cg/ (2081 characters) In "/Users/cxh/ptII/org/terraswarm/accessor/accessors/web/cg", about to execute: node ../node_modules/@accessors-hosts/node/nodeHostInvoke.js cg/TestComposite // Code generation complete. All initialized accessors have wrapped up. Terminating. All Done. // Code generation complete. Note that only models that contain Ptolemy II JavaScript and JSAccessor actors are supported. The AccessorCodeGenerator will not generate code for models that contain Ptolemy II Java actors like Ramp. Location of Generated CodeThe AccessorsCodeGenerator generates code by default in Composite accessors created from Cape Code tests and demos should be placed in the accessors repository. If a model tests a specific accessor, then the composite accessor should go into a
When generating a composite accessor from a Cape Code test, the parameters of the AccessorCodeGenerator should be adjusted accordingly. For example
Note that the path to To run these tests, cd to AccessorSSHCodeGeneratorThe AccessorSSHCodeGenerator uses ssh to deploy to a remote machine. In Cape Code, AccessorSSHCodeGenerator may be found under Experimental Libraries -> CapeCodegen -> AccessorSSHCodeGenerator AccessorSSHCodeGenerator has one parameter userHost, which should have the username, a To use this actor, you must have ssh access set up to the client. To use it with a SwarmBox, it is best to use the The AccessorSSHCodeGenerator uses
Reload All Accessors
See Also
|